Raetta’s Canned Green Beans

I snap and string my beans, then I put them in a pot and bring them to a boil. Cut the heat down and let them simmer a minimum of 15 min. You cannot reuse tops for canning: always heat them on low while canning. It helps the rubber get a good seal.

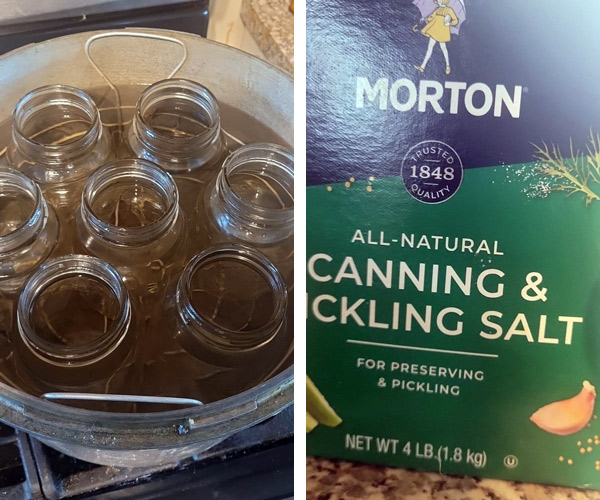
Next wash your jars in really hot water. Place in canner filled with water, set heat to medium, and simmer the jars so that they are the same temp your beans will be when you add them to your jars. This is important: if the step is skipped you risk busting the jars. Use canning salt for your canned goods, not table salt with iodine.

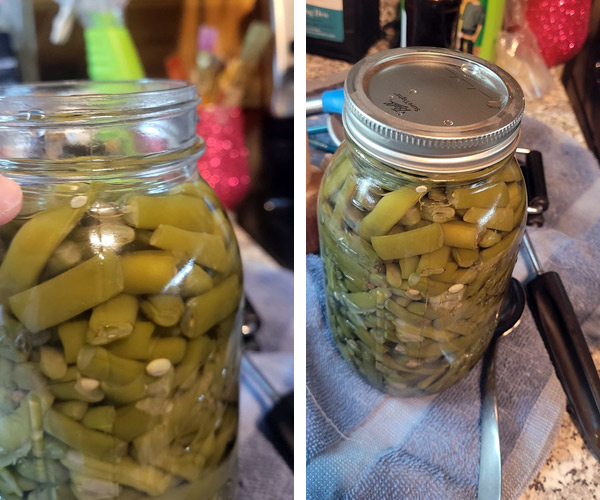
Fill your jar with beans only, then pack with a packer. Fill jar with liquid from beans to the neck of the jar, leaving head space.

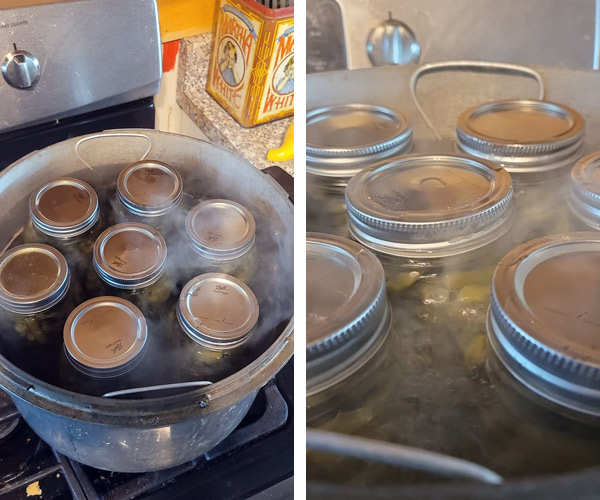
Add tip and ring. Do not set the ring tight. Put the filled jars in the pressure canner.

If you don't have enough jars, you can fill empty jars with hot water and add to the canner to keep other jars from moving around. You want the water in the canner to reach only the neck of the jar.

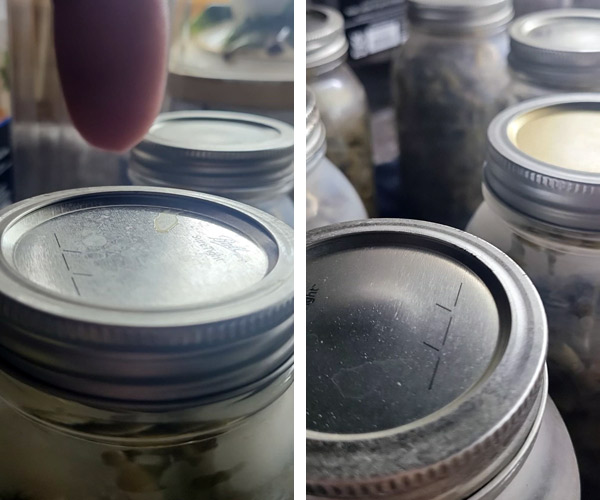
Lock lid down. Add weight pressure to 15 lbs for 20 min. To control the pressure, raise and lower the heat on the stove. After you depressurize your canner, set jars on towels to cool and seal. Do not push the lids — that prevents them from sealing. In the above right photo, you can see a slight buldge in a lid that's not yet sealed.

In the left photo, the lid is sealed. At right, the divet indicates that the lid is not yet sealed.
